Use inactivity timeouts to automatically transfer a visitor to another available agent if the first agent has not replied for some time, make a chat inactive and close a chat after a set amount of time.
Thanks to it you can be sure a customer doesn’t get stuck with an agent who is away from their desk and had forgotten to log out.
Types of inactivity timeouts
There are three types of inactivity timeouts: transfer the visitor to another agent, make the chat inactive and close the chat. Each one can be adjusted in Settings.
Transfer the visitor to another agent
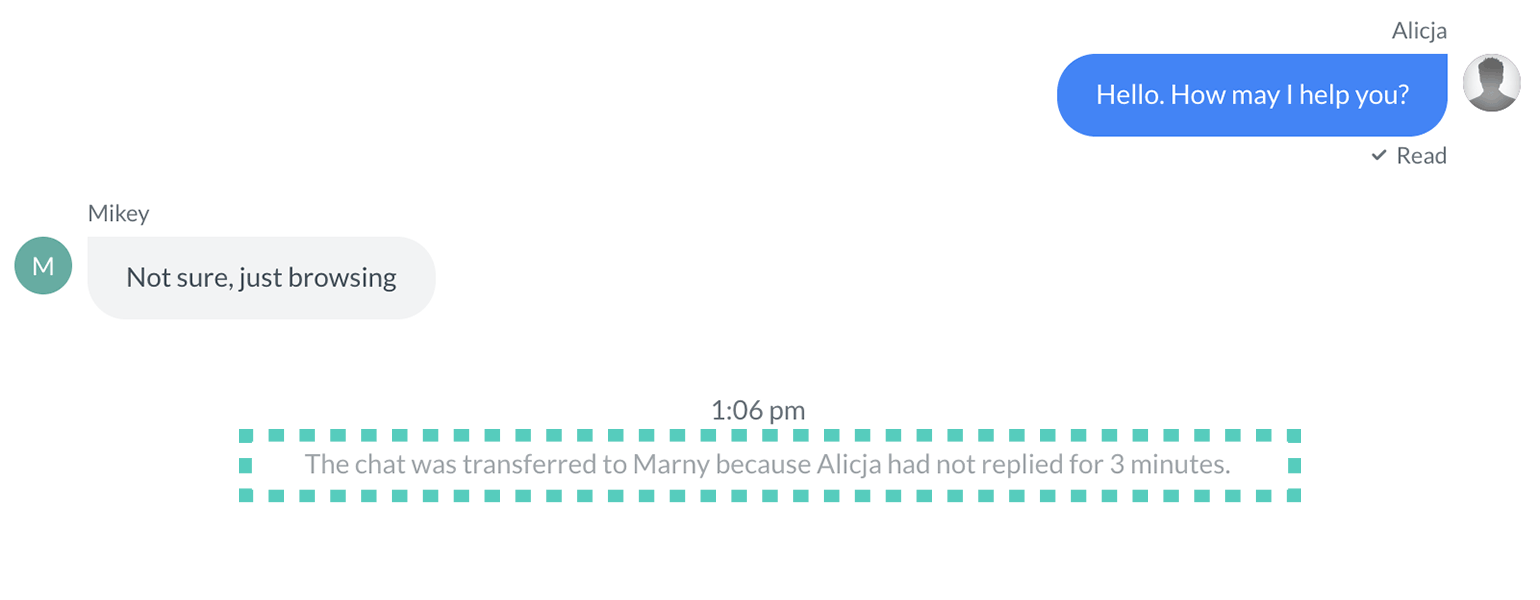
This rule applies only at the beginning of a chat (so before an agent sends the first message to a customer). If a customer doesn’t receive a reply for a set amount of time, the chat will be transferred to the next available agent.
If the next agent won’t be able to reply either, the customer will be transferred again. But the customer will never be transferred to an agent they’ve already been connected to.
If you have a lot of chats at the same time and you want to avoid the transfer, you can always let the visitor know that you will get back to them in a minute. This way, the visitor knows what to expect and won’t get bounced to another agent.
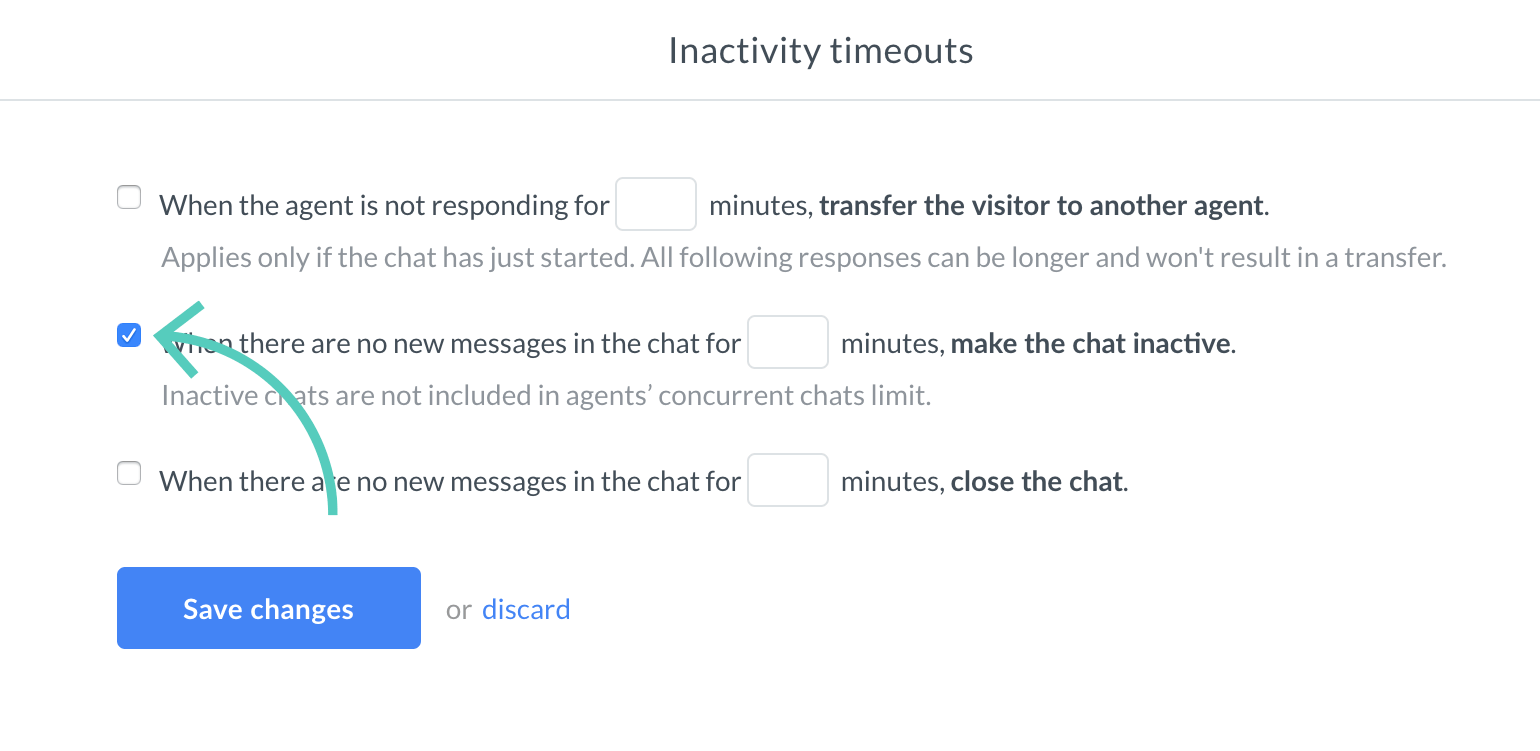
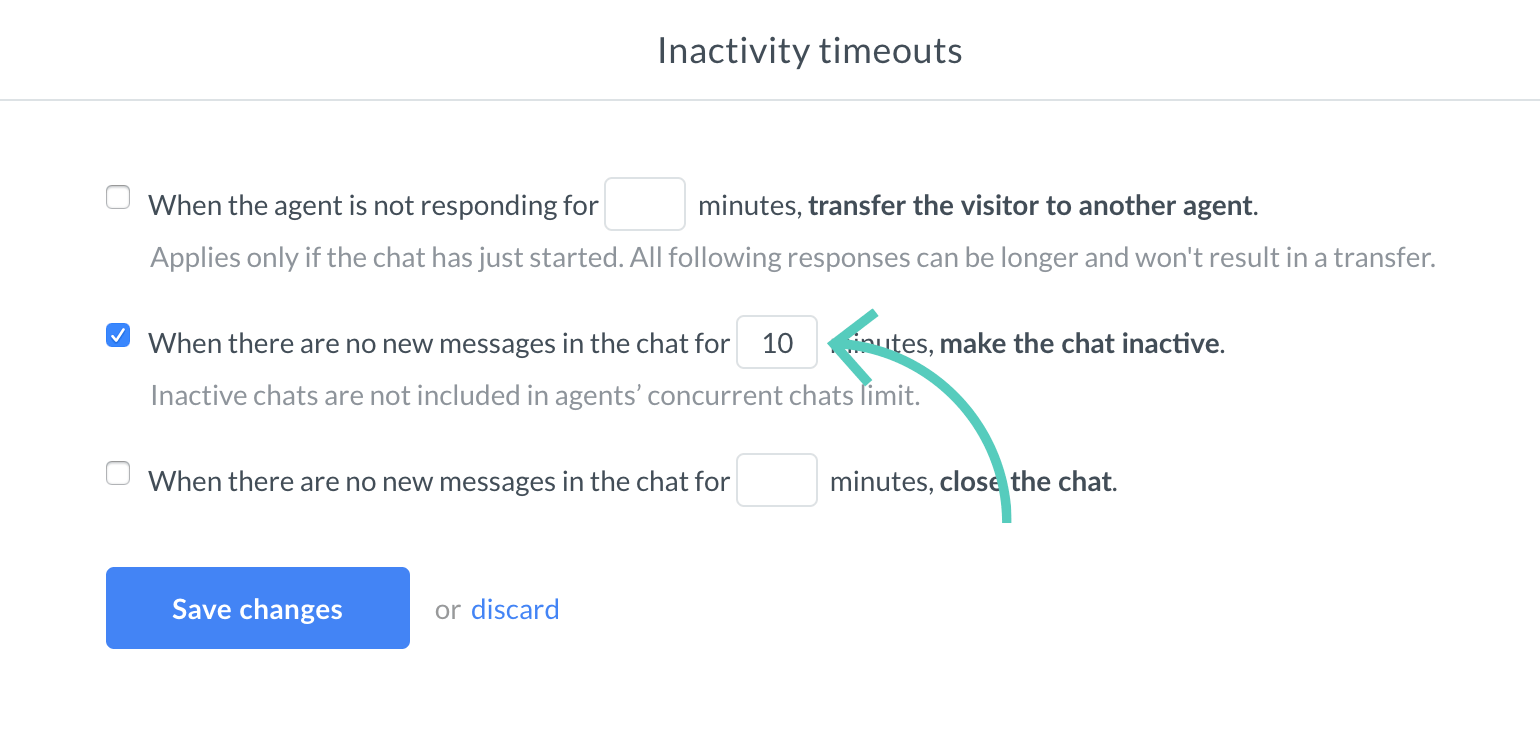
Make the chat inactive
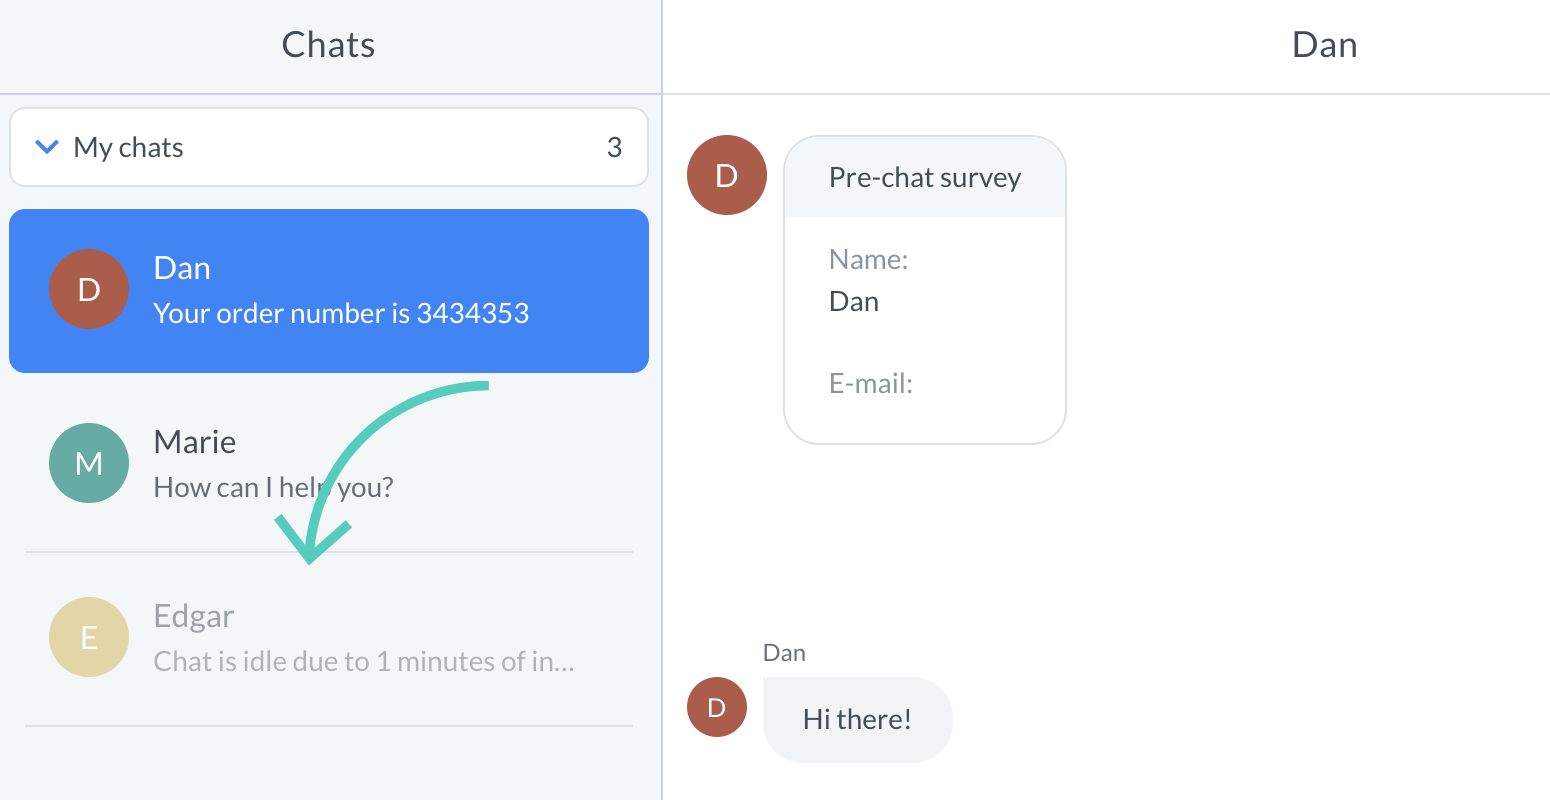
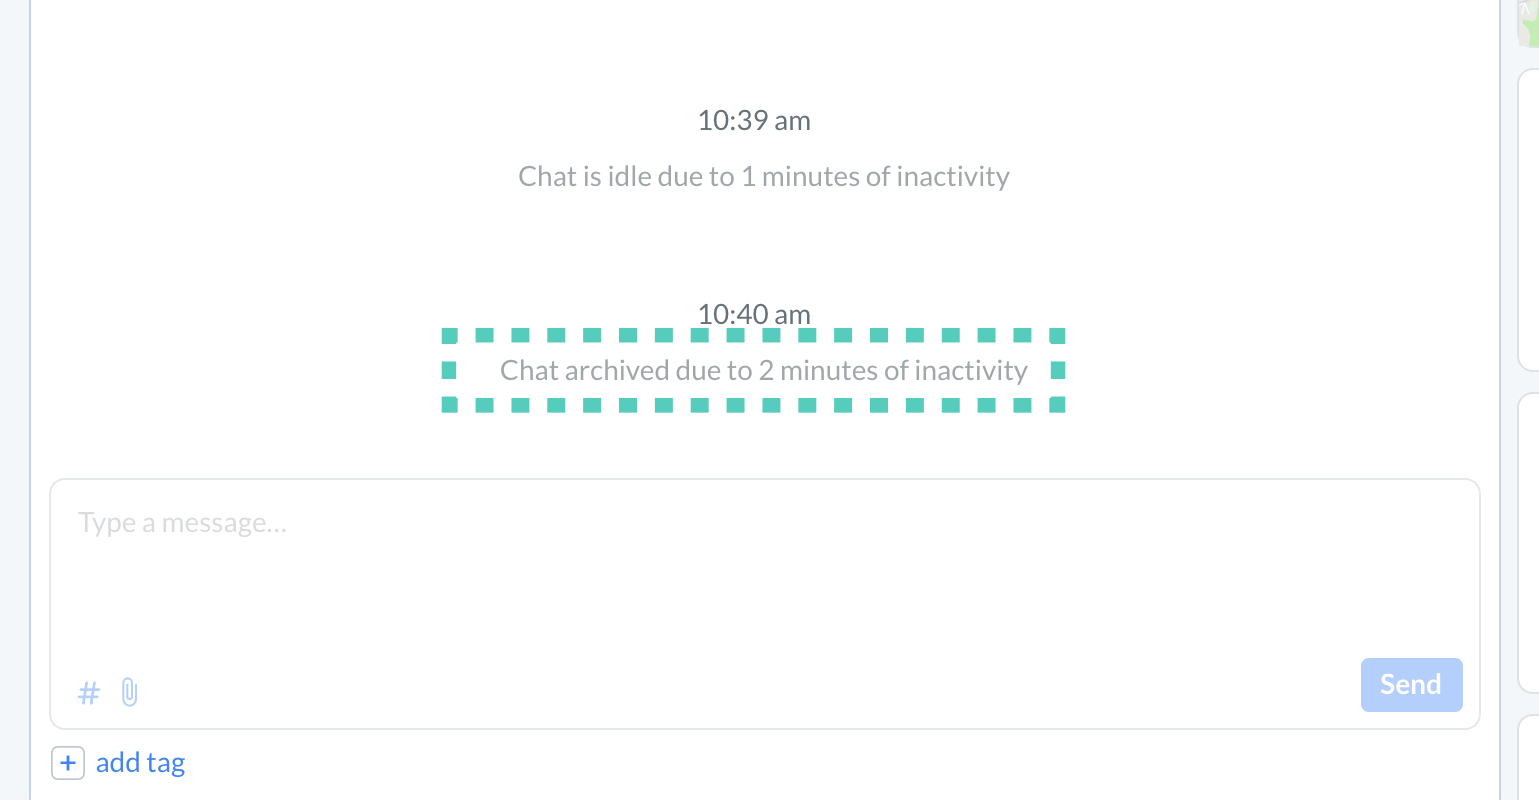
This rule applies when a chat has already started (both agent and customer sent at least one message). When both sides don’t send any messages for a set amount of time, the chat becomes inactive. All inactive chats are greyed out. If a customer messages you, the chat becomes active again.
Inactive chats vs. concurrent chats limit
Inactive chats don’t count towards the maximum number of concurrent chats an agent can have. Which means that sometimes an agent can end up with more chats than their set limit.
Close the chat
When both sides don’t send any messages for a set amount of time, the chat is automatically closed. You can still see it on the chat list, but it will be greyed out, and you won’t be able to send any messages.
Set inactivity timeouts
You can set the time it takes to transfer the visitor to another agent, make the chat inactive or close the chat by adjusting inactivity timeouts.
Here’s how to do it:
- Log in to LiveChat. Go to Settings → Chat settings → Inactivity timeouts.
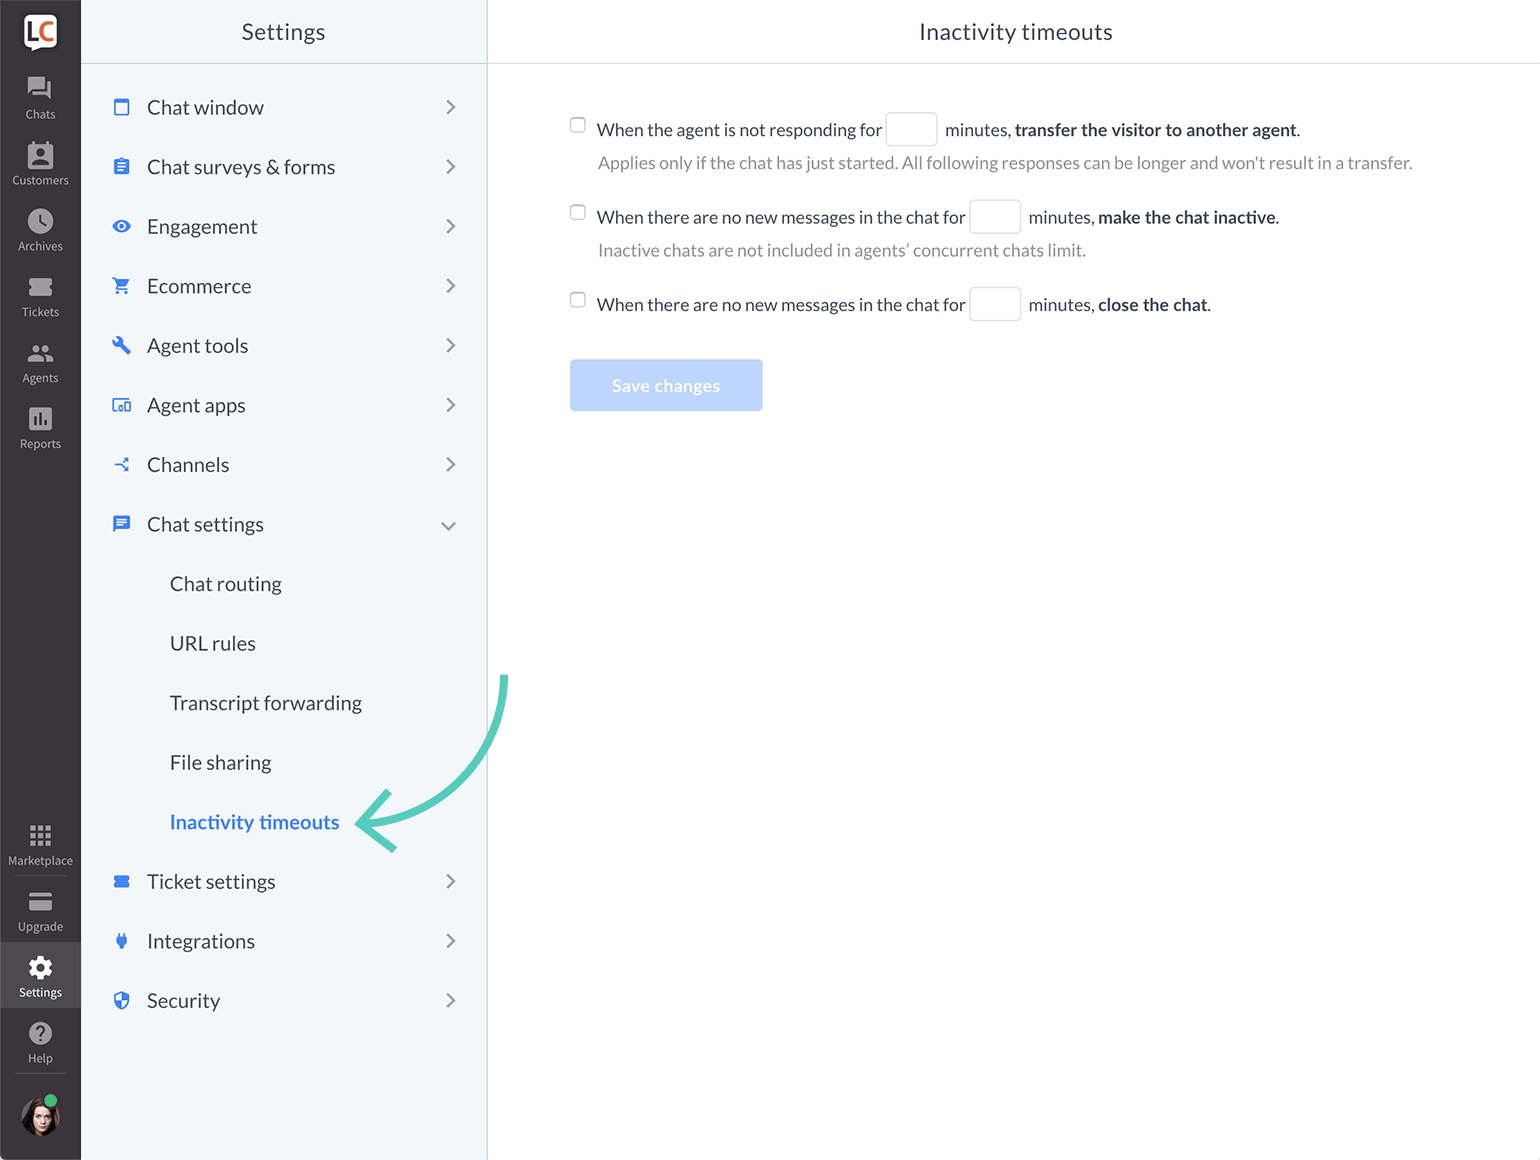
- Check the box next to the rule you want to turn on.
- Set the time (in minutes).
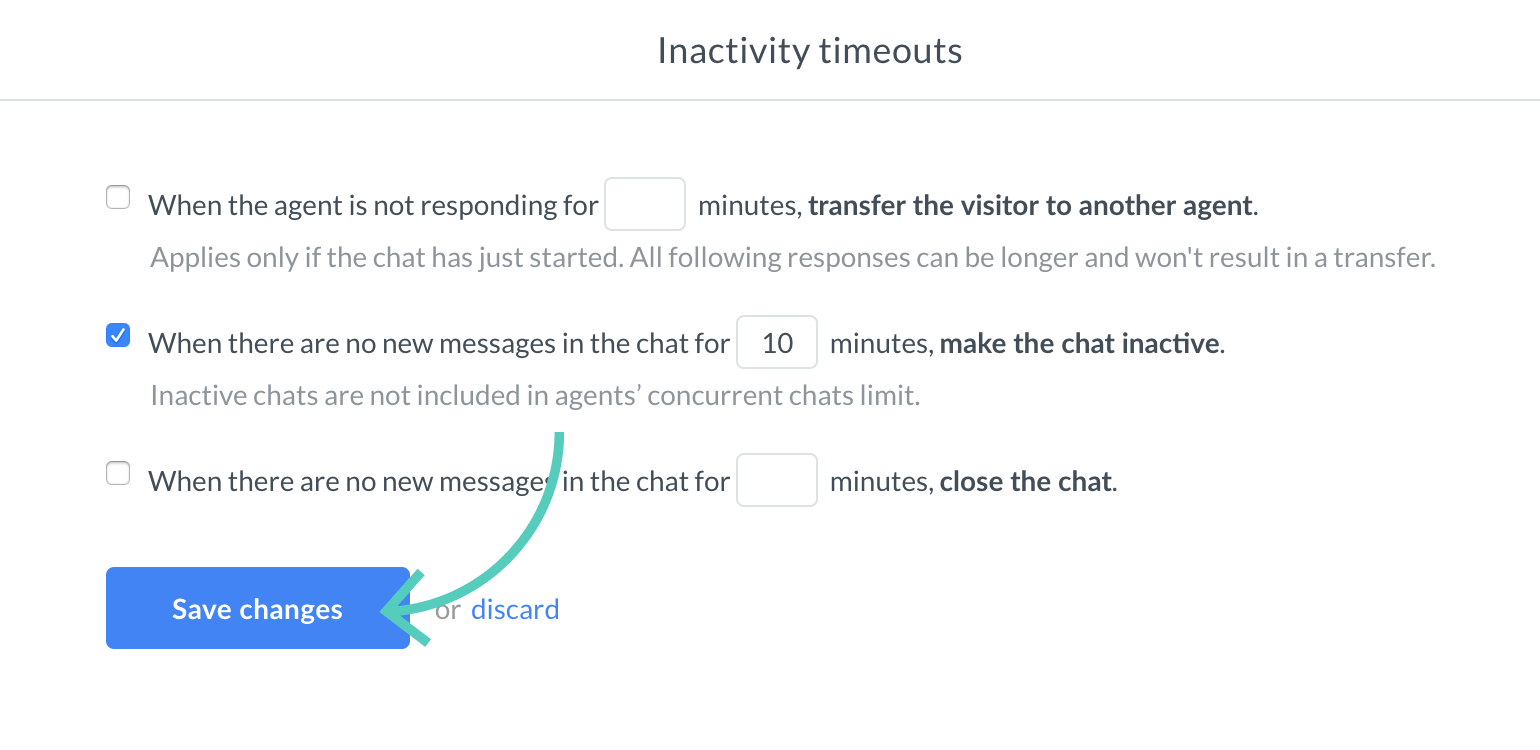
- Click on Save changes.
Inactivity message: Ask for email
You can set up an automatic message to be sent to the customer when an agent does not respond within a set amount of time. With this in place, you can collect your customers’ contact info even at the busiest of times and get back to them via email, showing them they can rely on you.
Automatic message when agent does not respond
To set up the automatic inactivity message