Next, you need to setup a container. The container holds all your tags, such as Google Analytics tag, Adwords tag or LiveChat tag. Name the container, select Web and confirm with Create.
5
Read through the GTM Terms of Service and select YES to accept them.
6
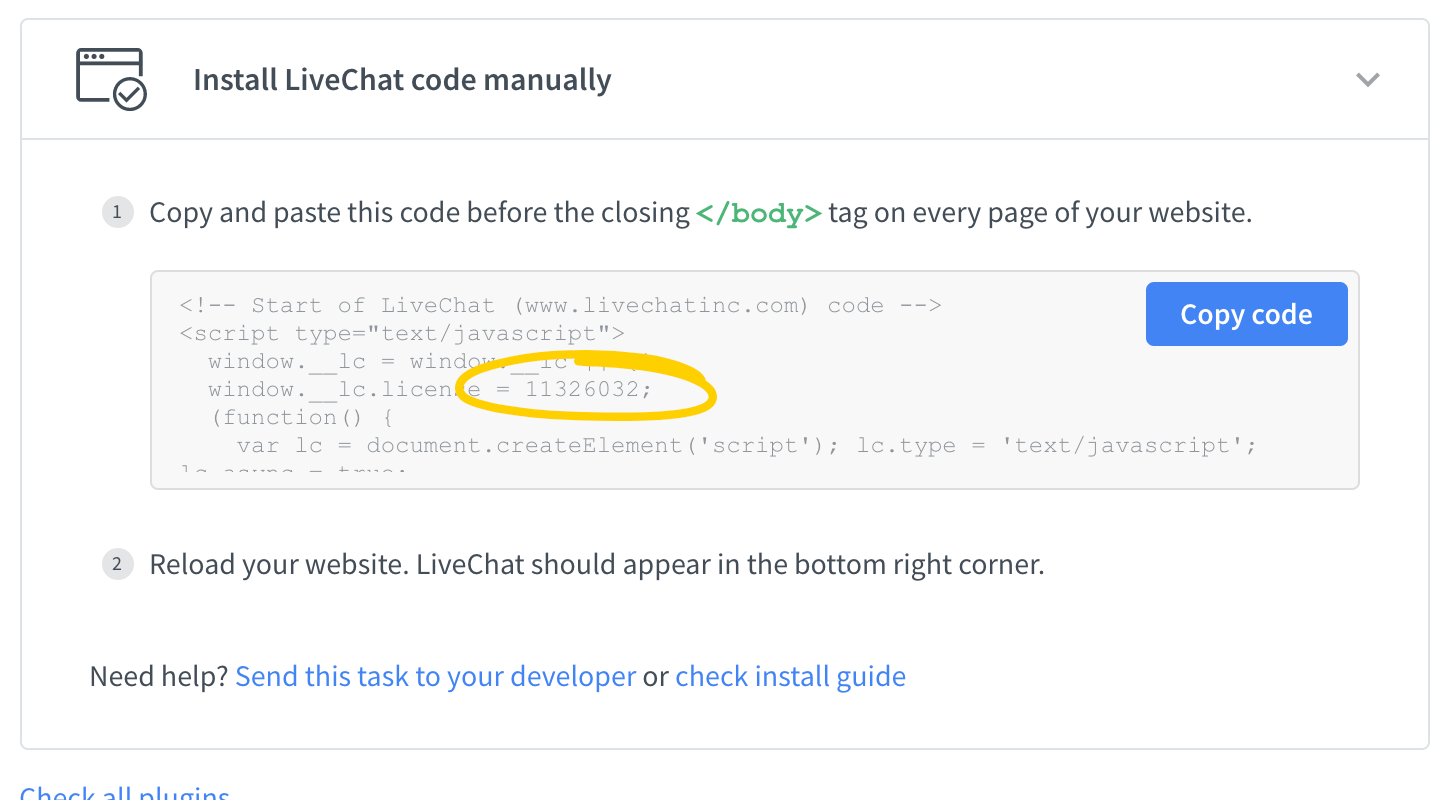
A container with a code snippet will pop up. Copy the code and paste it into every page of your site just below the opening tag.
7
Select OK to close the code snippet box and finish setting up your first container.
8
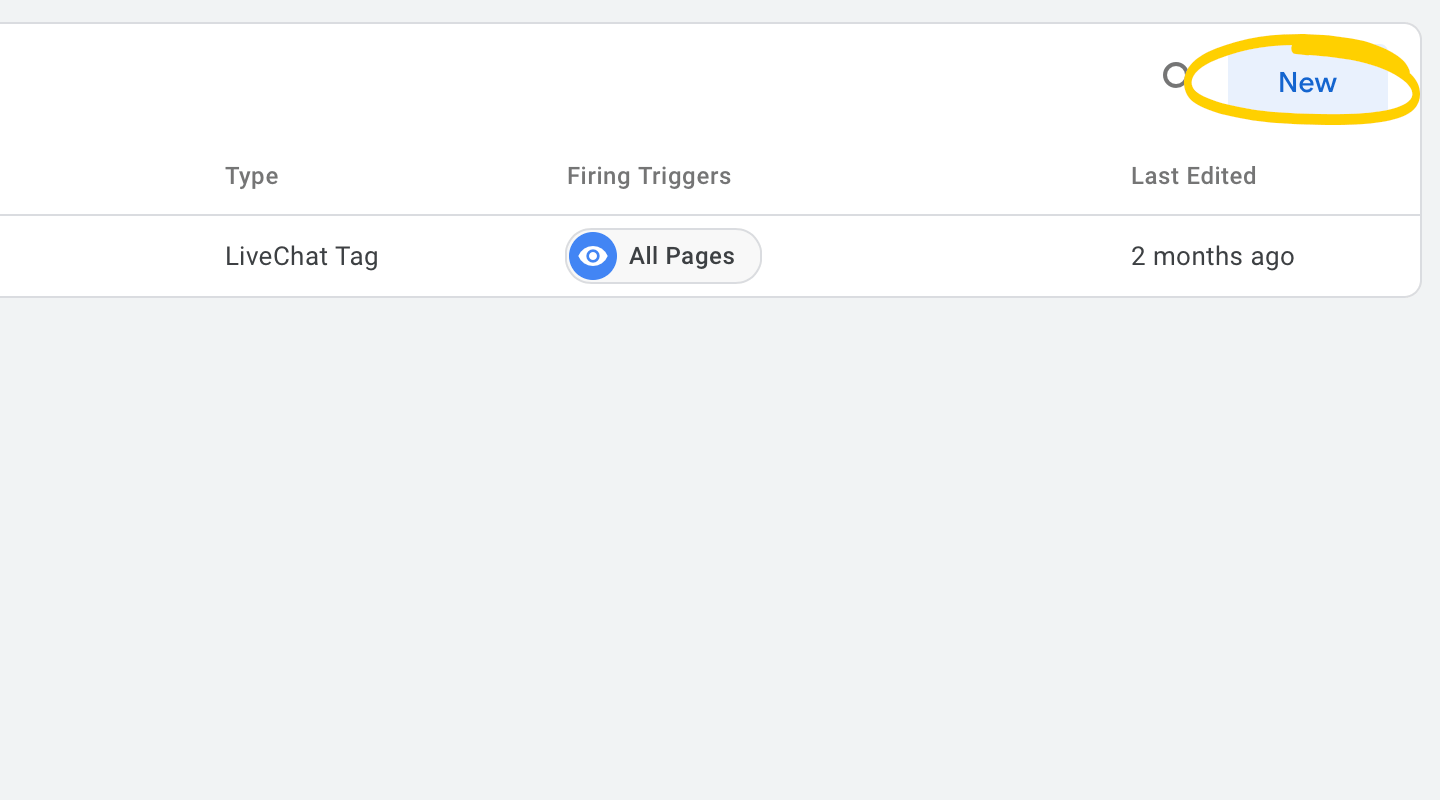
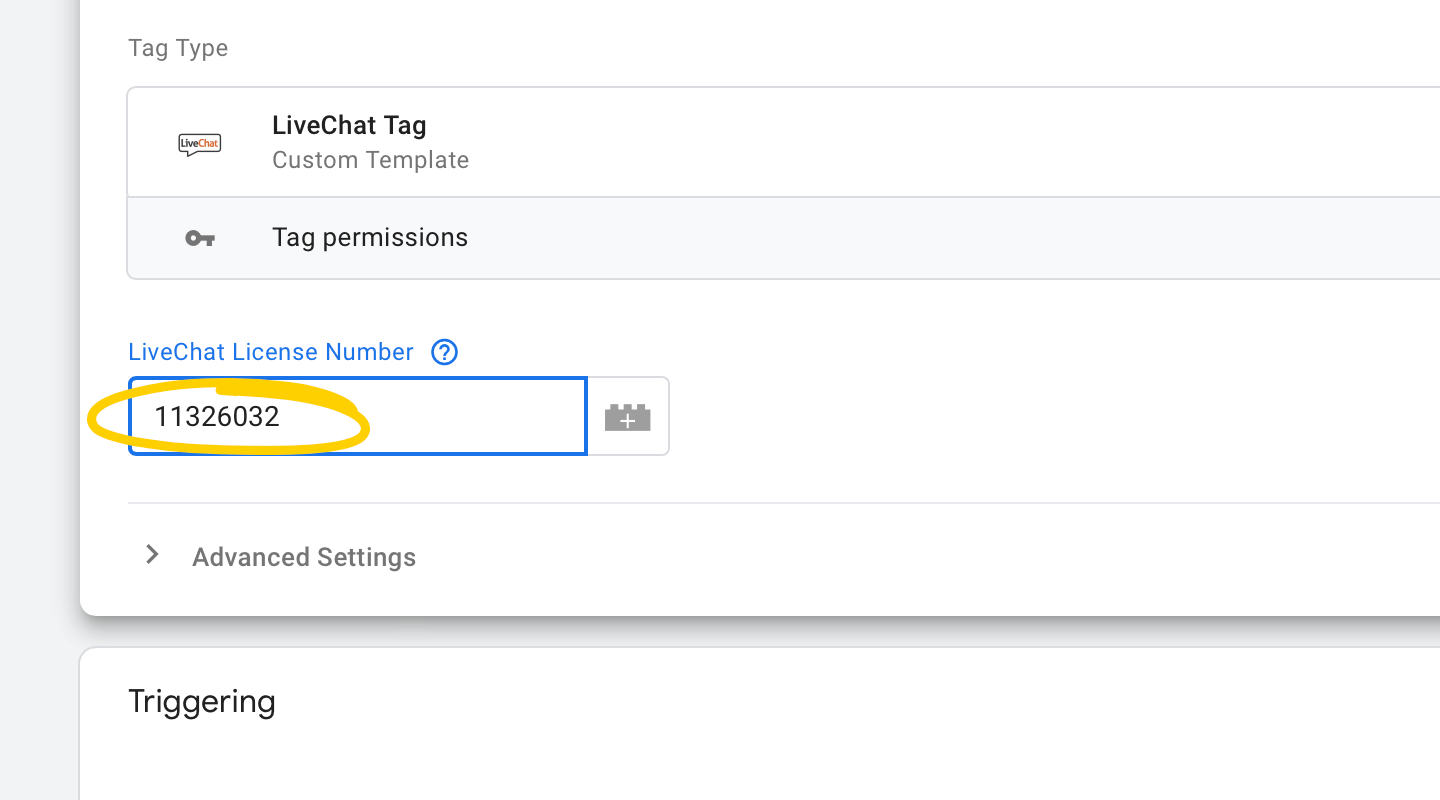
Select Add a new tag to create a tag in your container.
Save the configuration. GTM will ask you to name your tag. Enter the name and save it to finish LiveChat installation.
Integrate Google Tag Manager with Google Analytics
To use the Google Analytics integration with Google Tag Manager, you need to configure a few more things to make sure that various events are recorded correctly.
When using Google Analytics and Google Tag Manager at the same time, make sure to let LiveChat know which code should we track.
When using Google Analytics and Google Tag Manager at the same time, make sure to let LiveChat know which code should we track.
Once you have installed Google Analytics integration, log in to your Google Tag Manager account, and select the New Tag button to start configuring your new Google Analytics tag.
Set up a trigger
1
Select Triggering button available below.
2
On the next screen select the + button.
3
Next, select Trigger Configuration to set up a new firing rule.
4
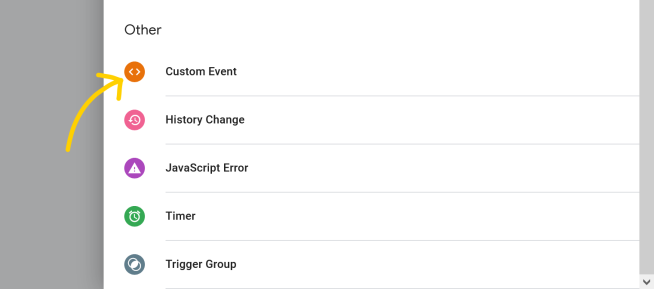
Choose the Custom Event option.
5
Type LiveChat in the Event name field and select Save.
6
Name the firing rule, e.g. gaLiveChatRule, and select Save button.
You’ve successfully set the trigger! You can proceed to the next steps to configure your tag.
Set up a tag
1
Start by selecting Tag Configuration.
2
After this step you can decide which Google Analytics tracking version you want to use. Below you can find steps for Google Analytics versions 3 and 4.
Google Analytics version 3
1
Choose the Universal Analytics option.
2
Expand the Google Analytics Settings dropdown and select New Variable.
3
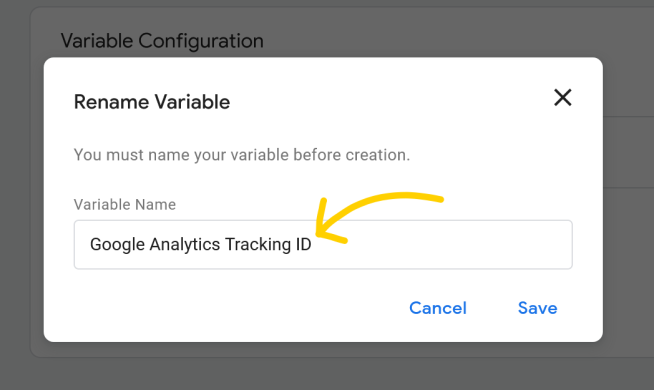
Enter your Google Analytics Tracking ID and save it.
4
Enter the variable name, for example Google Analytics Tracking ID and save it.
5
Expand the Track Type dropdown and select Event.
6
Hit macro button in the Category section.
7
Click on the + button to proceed.
8
Press Variable Configuration.
9
Choose Data Layer Variable from the list of available options.
10
Type eventCategory in the Data Layer Variable Name field and save.
11
You will be asked to rename your Variable. Enter gaLiveChatCategory as the name of Variable and save changes.
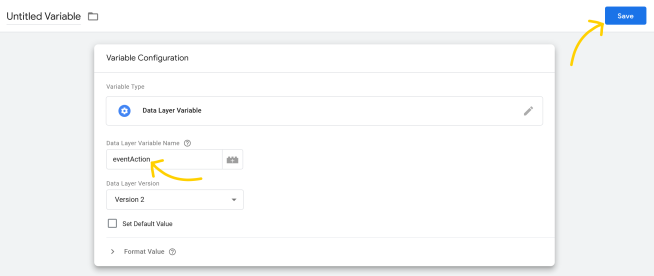
In the same way, create a new variable for the Action field. Select Data Layer Variable, enter eventAction as Data Layer Variable Name, click on the Create variable button and name it, e.g. gaLiveChatAction.
Create a new variable for the Label field. Select Data Layer Variable, enter eventLabel as Data Layer Variable Name, click on the Create variable button and name it, e.g. gaLiveChatLabel.
Next, add a new variable for the Value field. Select Data Layer Variable, enter eventValue as Data Layer Variable Name, click on the Create variable button and name it, e.g. gaLiveChatValue.
Google Analytics version 4
1
Select the Google Analytics: GA4 Event option.
2
Expand the Select Configurationtag dropdown and choose the New tag….
3
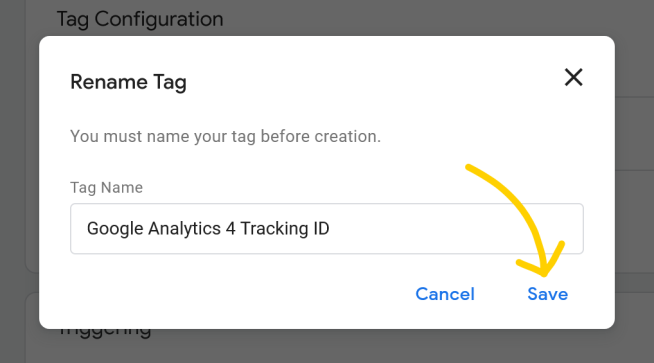
Enter the Google Analytics 4 tracking ID and save it:
4
Enter the variable name, for example Google Analytics 4 Tracking ID and save it.
5
Select the macro button in the Event Name section.
6
Select the + button to proceed.
7
Press Variable Configuration.
8
Choose Data Layer Variable from the list of available options.
9
Type eventCategory in the Data Layer Variable Name field and save.
10
You will be asked to rename your Variable. Use gaLiveChatCategory as the name of Variable and save changes.
11
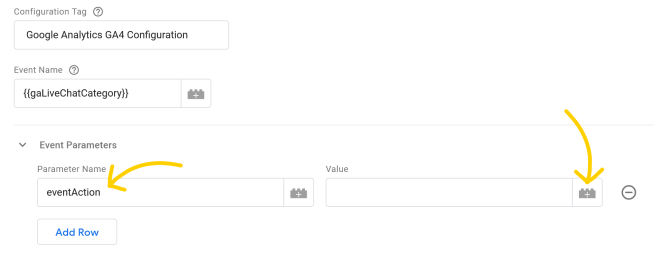
Expand the Event Parameters tab and select the Add Row button.
12
Type eventAction in the Parameter Name field and Select the macro button in the Value section.
13
Select the + button to proceed.
14
Press Variable Configuration.
15
Choose Data Layer Variable from the list of available options.
16
Type eventAction in the Data Layer Variable Name field and save.
17
You will be asked to rename your Variable. Use gaLiveChatAction as the name of Variable and save changes.
18
In the same way create a new row and variable for the Label field. Select Data Layer Variable, enter eventLabel as Data Layer Variable Name, click on the Create variable button and name it, e.g. gaLiveChatLabel.
19
Next, add a new row and variable for the Value field. Select Data Layer Variable, enter eventValue as Data Layer Variable Name, click on the Create variable button and name it, e.g. gaLiveChatValue.