Agents
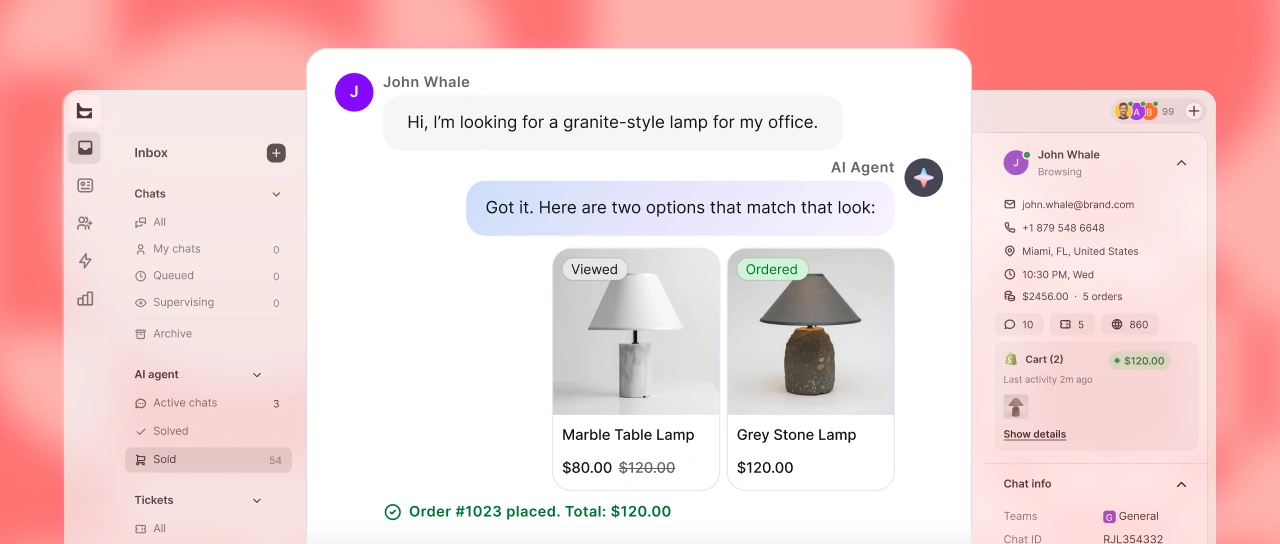
Learn how to use LiveChat to provide excellent customer support
Read agent's guide
Get answers and explore new ways to use LiveChat
Get up and running with our role-based guides for
Add LiveChat to your site or app with these step-by-step tutorials
New to LiveChat? Get to know the basics here
Learn how LiveChat works from top to bottom
Connect tools you use every day and automatize your work
Get the most out of LiveChat with tips and tricks from our team
Update your privacy policy and secure your account
Getting started with LiveChat is easy. Learn how to install LiveChat on your website with this step-by-step tutorial.
See how easy it is to customize your chat widget with LiveChat, maintaining the awareness of your brand among your website visitors!
Campaigns (pop-ups) help you share announcements, discounts, promote products, and engage visitors on your website. Learn how to make the most of them!
What’s new
Administrators can manage the subscription as well as the owner. Which makes things easier when the owner isn’t the person who is in charge of LiveChat in your company.
Check details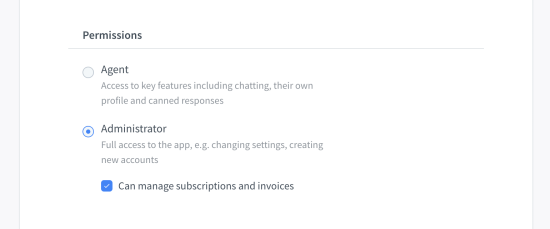
Learn by watching, not reading. View our product demo to see what LiveChat can do for you. Get to know the basics with how‑to‑videos. Discover customer stories to see how others grow their businesses with LiveChat.
Watch on YouTubeFree 14-day trial AI-driven features No credit card required