Jira is the #1 software development tool, allowing you to plan, track, and release great software. It also provides you with the Jira Service Desk tool.
- Add the chat widget to Jira and give your customers the quickest and the most efficient way of communication.
- Create a Zap which will pass an issue to Jira after the ‘Bug’ tag is added to a chat.
Add chat to Jira Service Desk
Below, we prepared a short integration tutorial. We hope that you will like it!
- Installation - learn how to integrate LiveChat with Jira;
- Configuration - learn how to configure your Jira integration
Installation
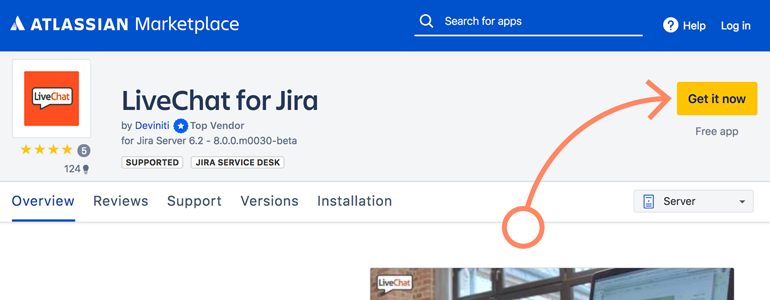
- First, click here to visit LiveChat for Jira official marketplace site. While there, click on Get it now button. By doing that you’ll be able to download LiveChat for Jira on your computer.
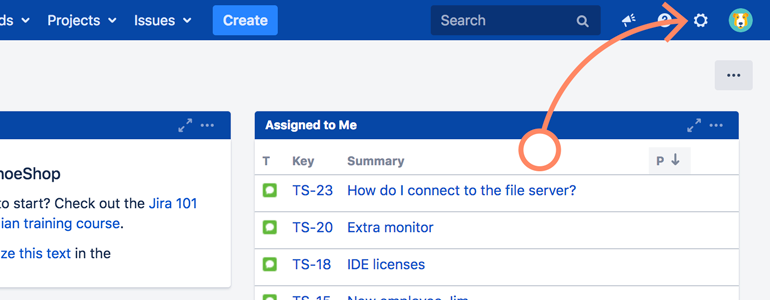
- Now, log into your Jira dashboard and click on Jira Administration button.
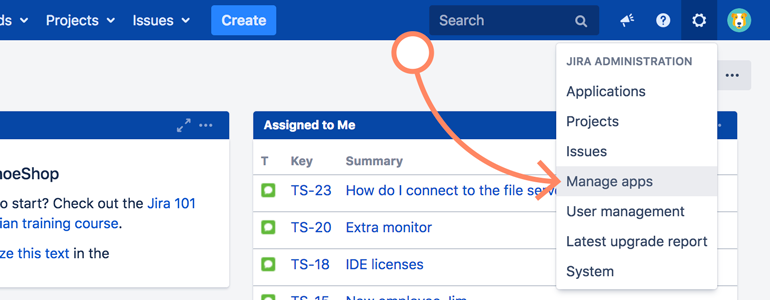
- Click on Manage apps button to proceed.
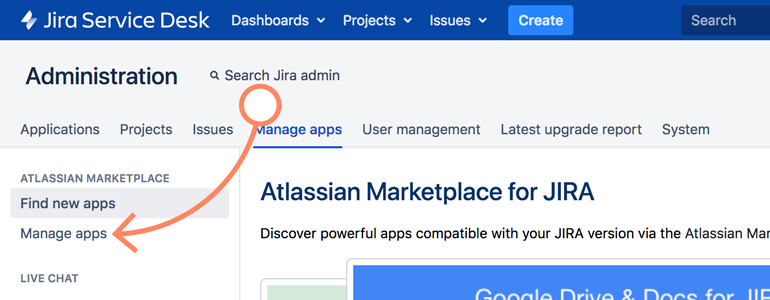
- On the next screen, go to Manage apps section.
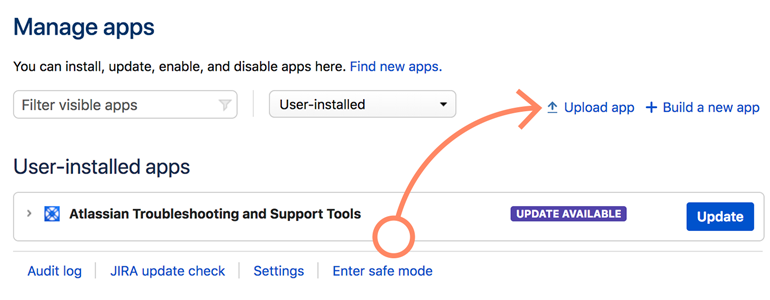
- While there, click on the Upload app button, available at the middle right section of Manage Apps.
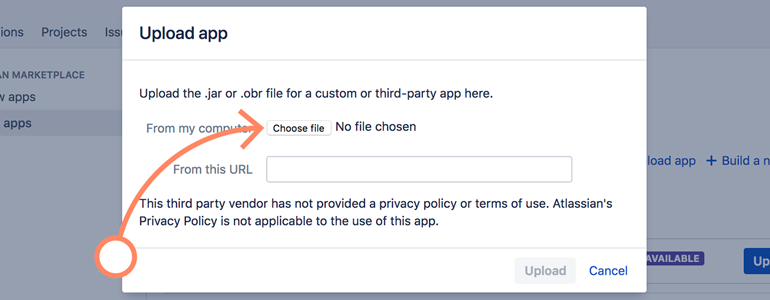
- To proceed, upload the LiveChat app that you’ve previously downloaded.
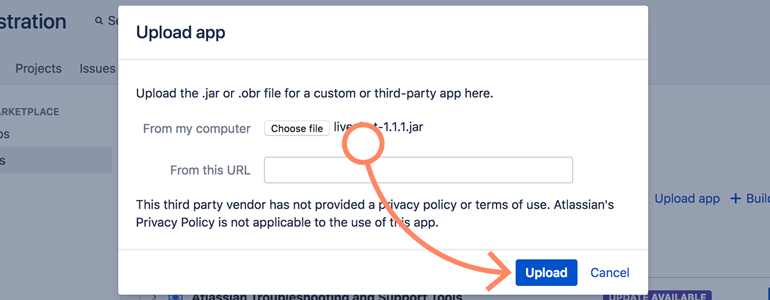
- There’s just one more thing to do before finalizing the installation: to proceed, click on Upload button.
And that’s it! Your LiveChat is now integrated with Jira and all that is left is to configure the integration, which we will describe below.
Configuration
- After the successful upload, you will be taken back to the Manage apps screen. While there, click on the Configure button, available under the LiveChat app.
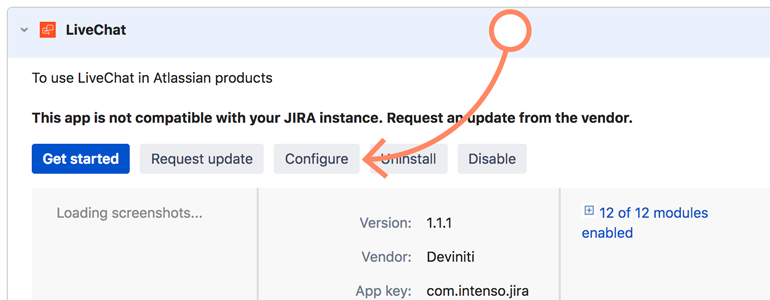
- On the Configure section, provide the email address of your LiveChat license.
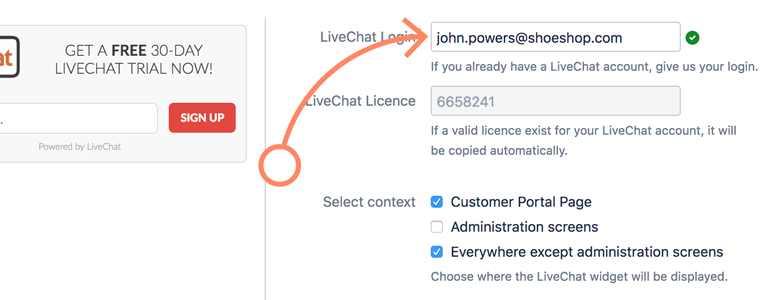
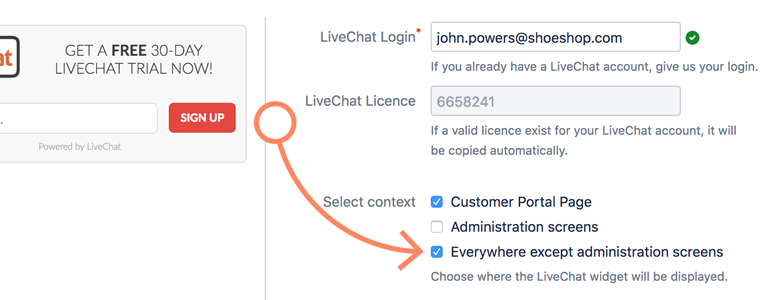
- Now, choose where would you like to display your LiveChat widget.
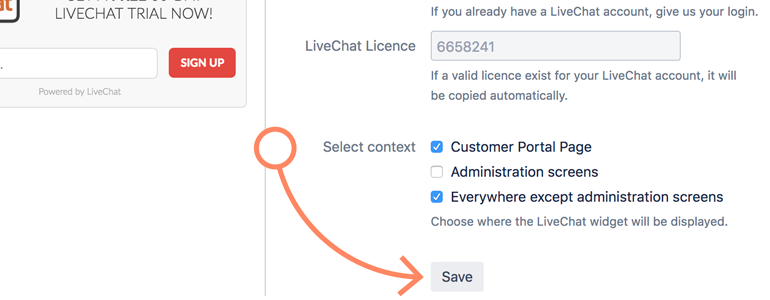
- To finalize the configuration, click on Save button.
Done! Now your LiveChat for Jira plugin is ready to use!
Send chat transcripts to Jira projects
Do your chat visitors report bugs to your team through LiveChat chat? If yes, you can pass transcripts of such chats to your projects in Jira to make the work of your debugging team easier.
Follow the steps below to create a Zap which will pass an issue to Jira after the ‘Bug’ tag is added to a chat.
Creating the Jira – LiveChat Zap
Creating this Zap consists of four main parts:
-
Setting up the trigger\
- choosing an event that will start data passing
-
Adding a filter\
- determining which chats will get through the destination app
-
Configuring the action\
- setting up what happens in the target app
-
Launching the Zap\
- turning the integration on
Setting up LiveChat trigger
The first step to set up this integration is to determine a condition that will trigger an action in your target account.
- Log in to Zapier and click on Make a Zap in the upper menu.

- Choose LiveChat as the Trigger App.
- Select Chat changed as the Trigger.
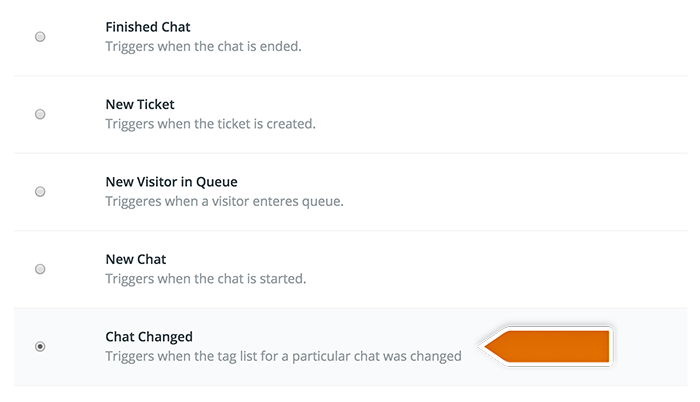
- Click on Save + Continue to proceed.
- Click on Connect a New Account and then provide your LiveChat login email and the **PAT** (Personal Access Token). Next, click on Yes, continue to accept.
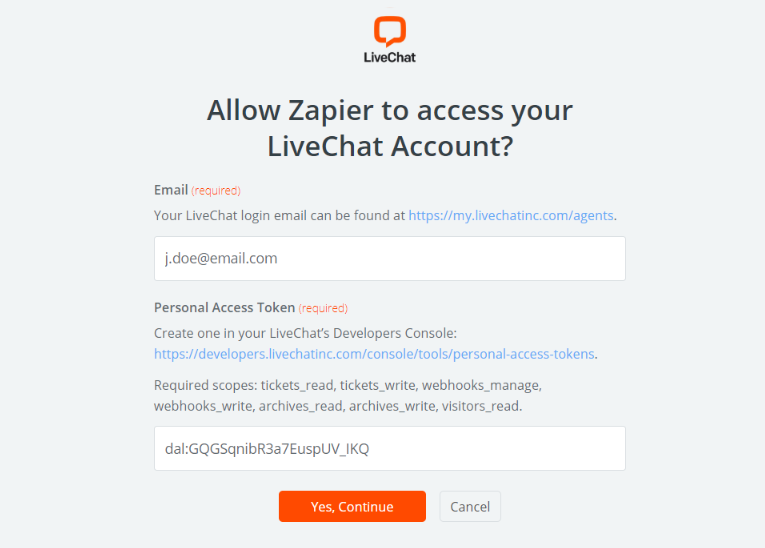
- You can rename the account and then click on Save + Continue.
- Select Fetch & Continue to test this step and make sure it is working properly.
Adding a filter
The second step is adding a filter that will only pass the chats with a ‘Bug’ tag further.
- Go to the filter section in Zapier and choose the tag of the chats that you want to pass to Jira.
- Then confirm by clicking on Continue button.
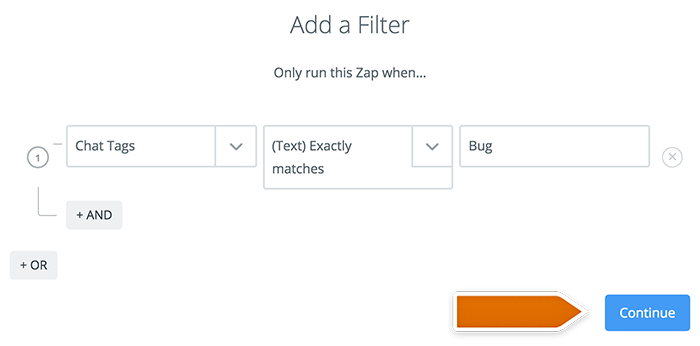
Configuring the action in Jira
High time to configure what will happen in your target app after the tag is added to a chat.
- Choose Jira as Action App.
- Then choose Create issue as the action and confirm by clicking on Save + Continue.
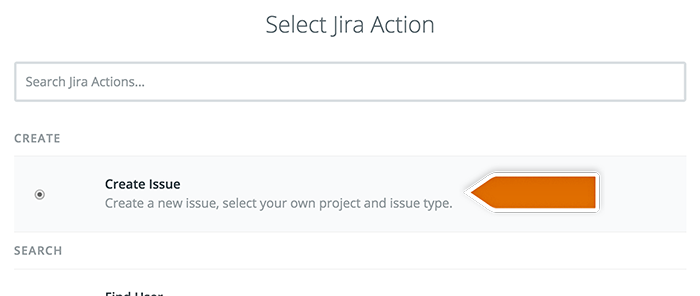
- Connect your Jira account by providing your Base URL, Username and Password in the pop-up window.
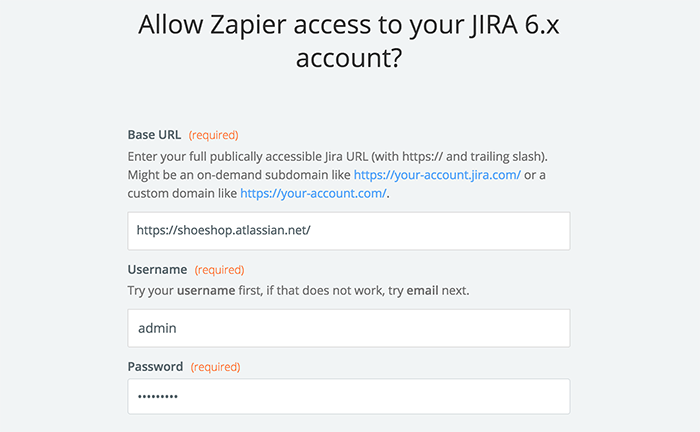
- Click Yes, continue button.
- Select Jira account and confirm the choice by clicking on Save + Continue.
- Next, set up the template.
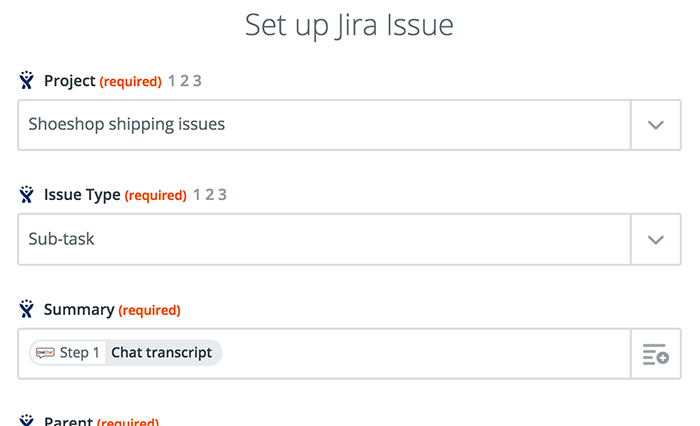
- After you finish, click on Continue button down the page to proceed.
- Zapier will ask you to test new Zap. Follow the instructions to make sure your Zap is working correctly.
- Then click on the Finish button.
Launching the Zap
Ready to go live? Let’s turn this integration on then.
- Turn the Zap on by clicking on the grey switch and start passing information from LiveChat to Jira.

Done! You have just linked your LiveChat with Jira through Zapier. An issue will be passed to Jira after a ‘bug’ tag is added to a chat. Hopefully, you have found this article helpful but if you have any additional questions, feel free to start a chat with us - we are available 24/7/365!