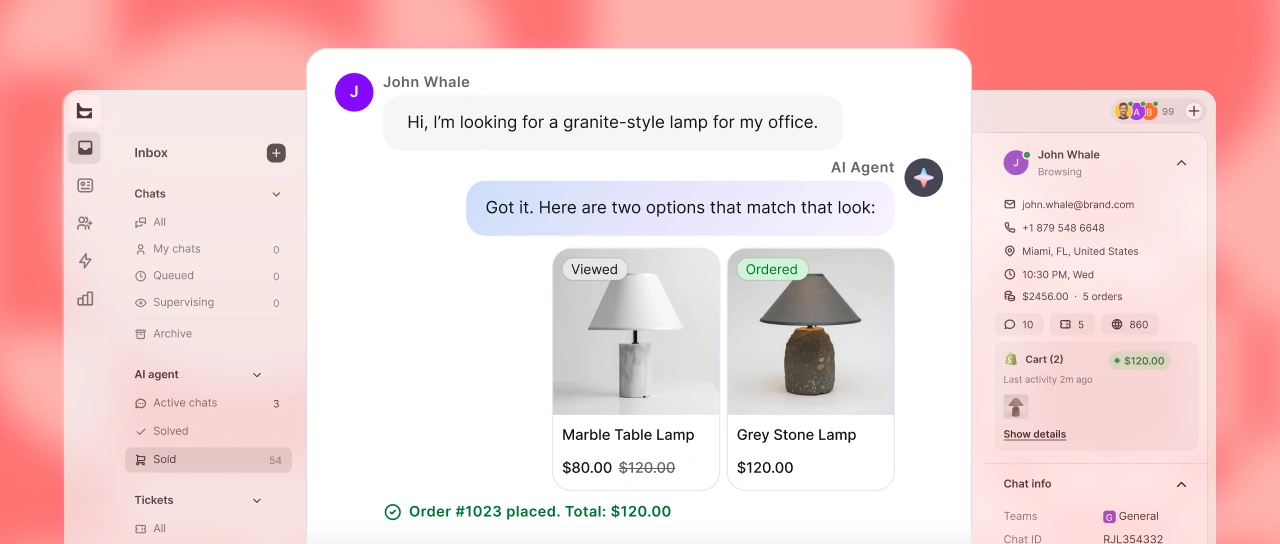
Sometimes sending an image, a pdf with instructions, or a spreadsheet with your pricing is easier than typing out all the information on chat. That’s why in LiveChat, both agents and customers can easily share files.
Send a file on chat
To share a file with a customer on chat, follow these steps:
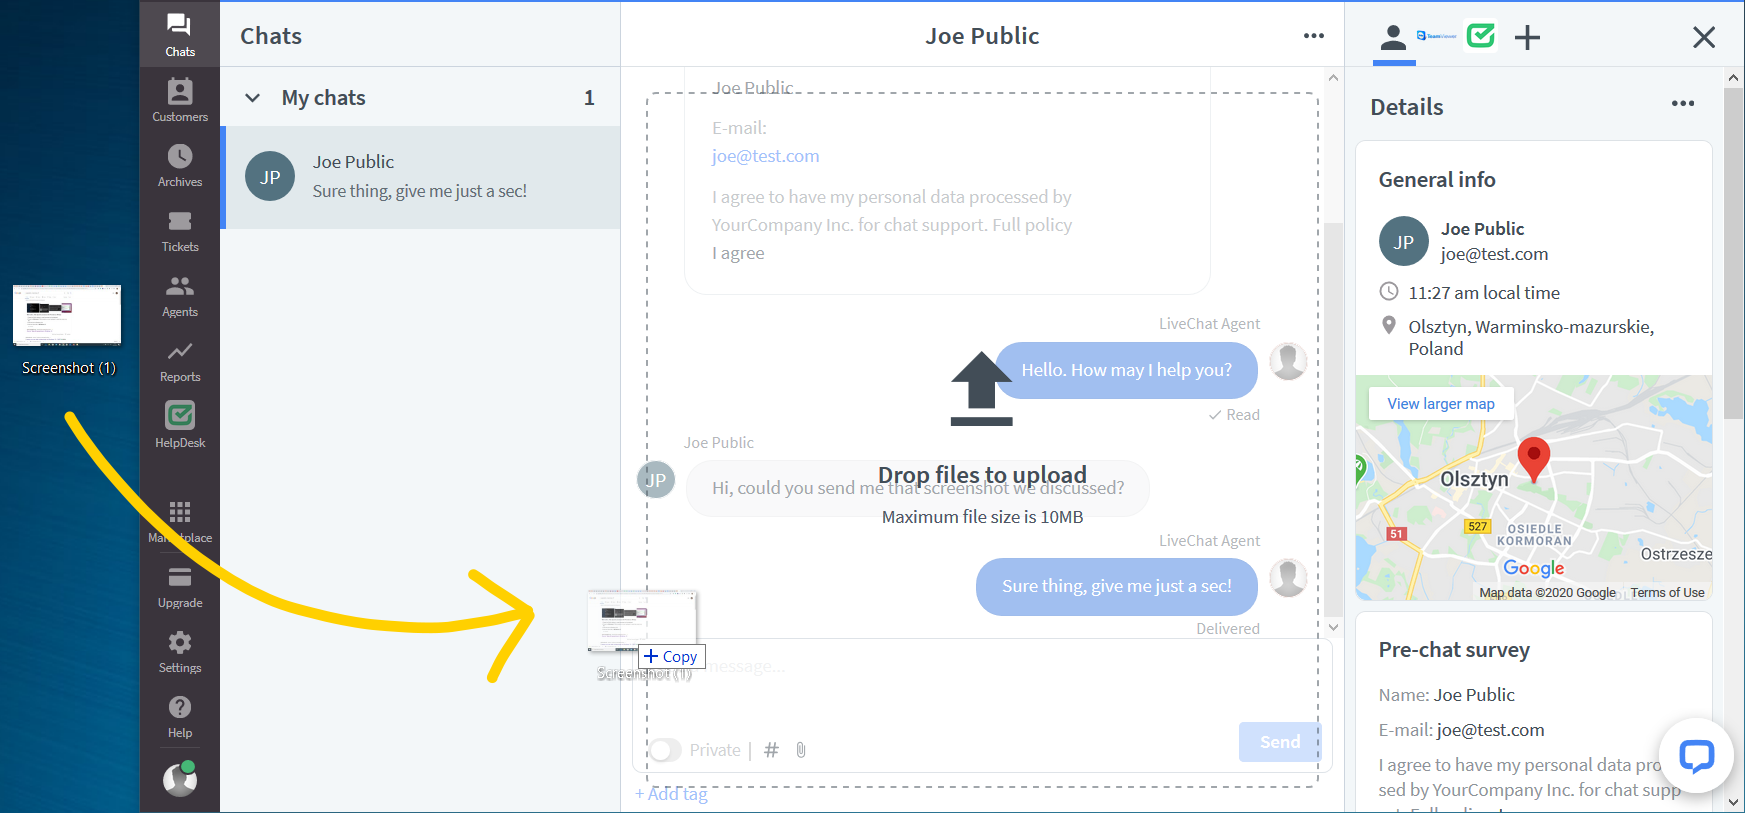
- When chatting with a customer, click on the paperclip icon. You will find it in the bottom left of the text area.

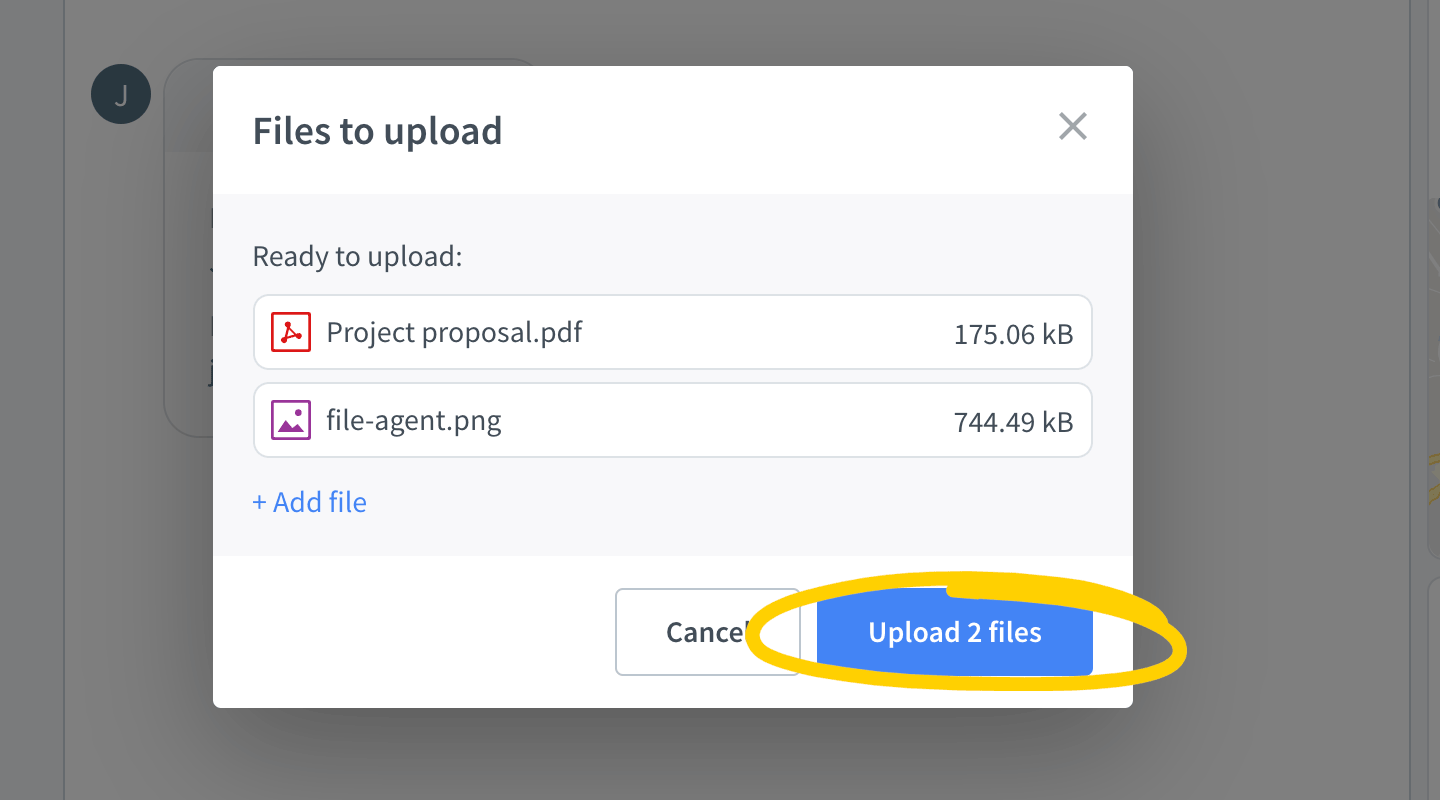
- Choose files you want to upload. Remember that each file can’t be bigger than 10MB. All the files you select for upload will be listed before sending.
You can also copy to clipboard and paste the file into chat. You can use the key combinations (Control+C, Control+V for Windows and Command ⌘+C, Command ⌘+V for Mac) or right-click the file and pick the command from the menu.
Alternatively, drag and drop files into the chat. Click and hold the selected file and drag it over the chat area.
- Click on the Send button to share files on chat.
- Review the preview and click on Upload file to confirm.
Send a file on chat as a customer
Your customers can also send files on chat. To do it, they need to:
- Click on the paper icon positioned next to the text area.
- Select a file (or files) and click on Open.
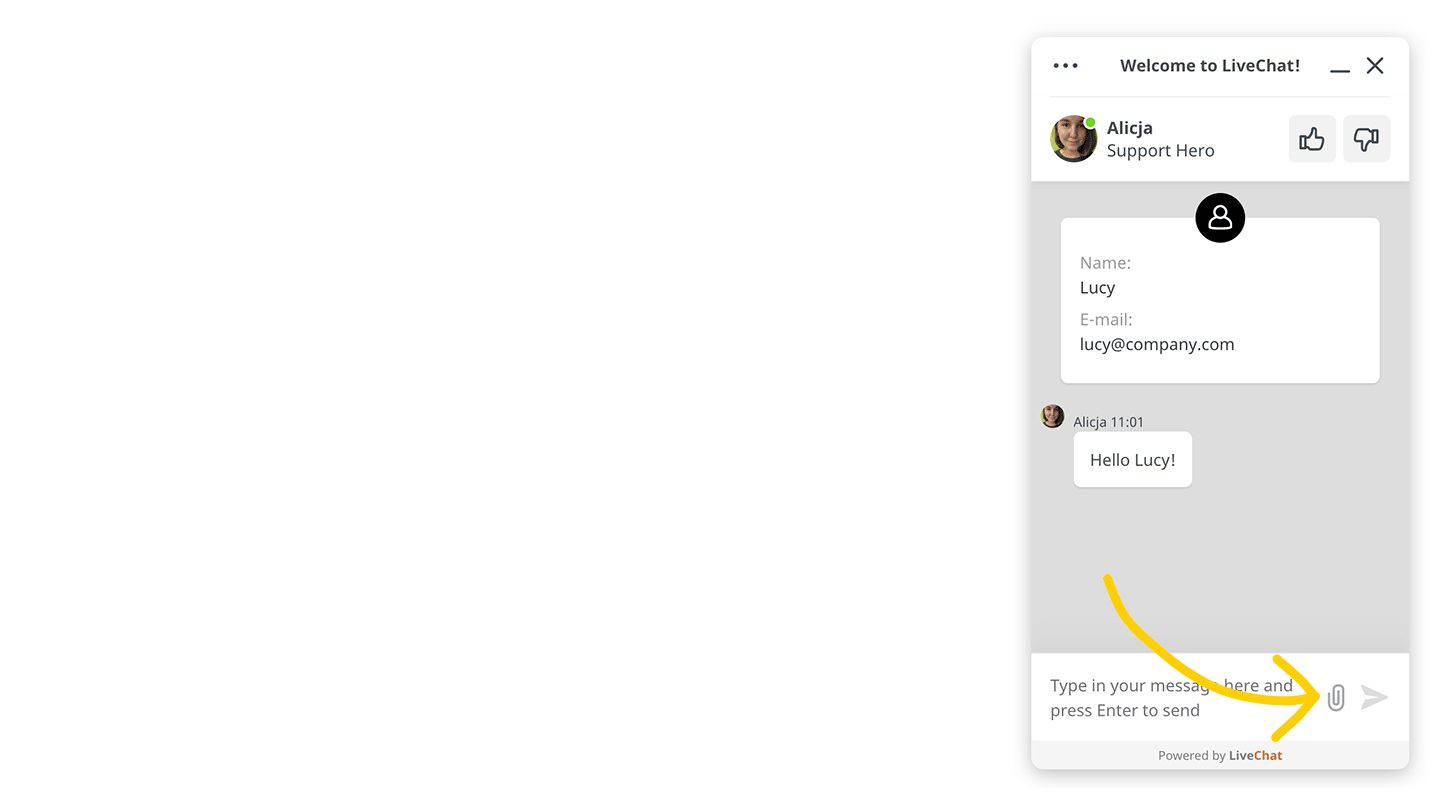
- Review the preview and click on Send files to confirm.
Customers can also copy to clipboard and paste the file into chat. They can use the key combinations (Control+C, Control+V for Windows and Command ⌘+C, Command ⌘+V for Mac) or right-click or the file and pick the command from the menu.
Alternatively, they can drag and drop files into the chat. They just need to select and hold the file and drag it over the chat widget.
After a file has been uploaded, both the agent and the customer will receive a link to the file. The link can be accessed later on in Archives and in the chat transcript.
Viewing images with lightbox
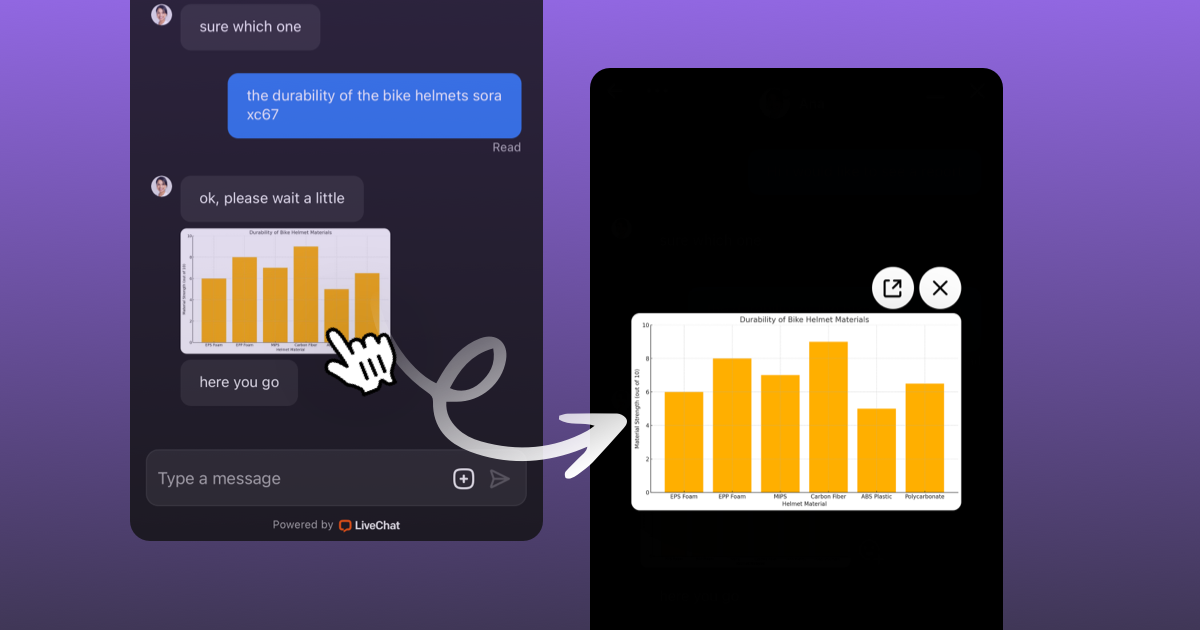
When a customer clicks on an image in the chat, it opens in a lightbox — a full-screen overlay that appears directly within the widget (on mobile) or the page (on desktop browsers). This means customers can preview images without navigating away or losing the conversation thread.
Lightbox supports high-resolution image rendering in a clean, focused layout. It includes smooth transitions for opening and closing the lightbox and supports intuitive interactions:
- Users can tap outside the image or press the Escape key to close it.
- The lightbox functionality is enabled by default — no configuration is required.
- It supports all image formats already supported in the chat (JPEG, PNG, GIF, etc.).
- It works within modern browsers and is fully responsive across screen sizes.
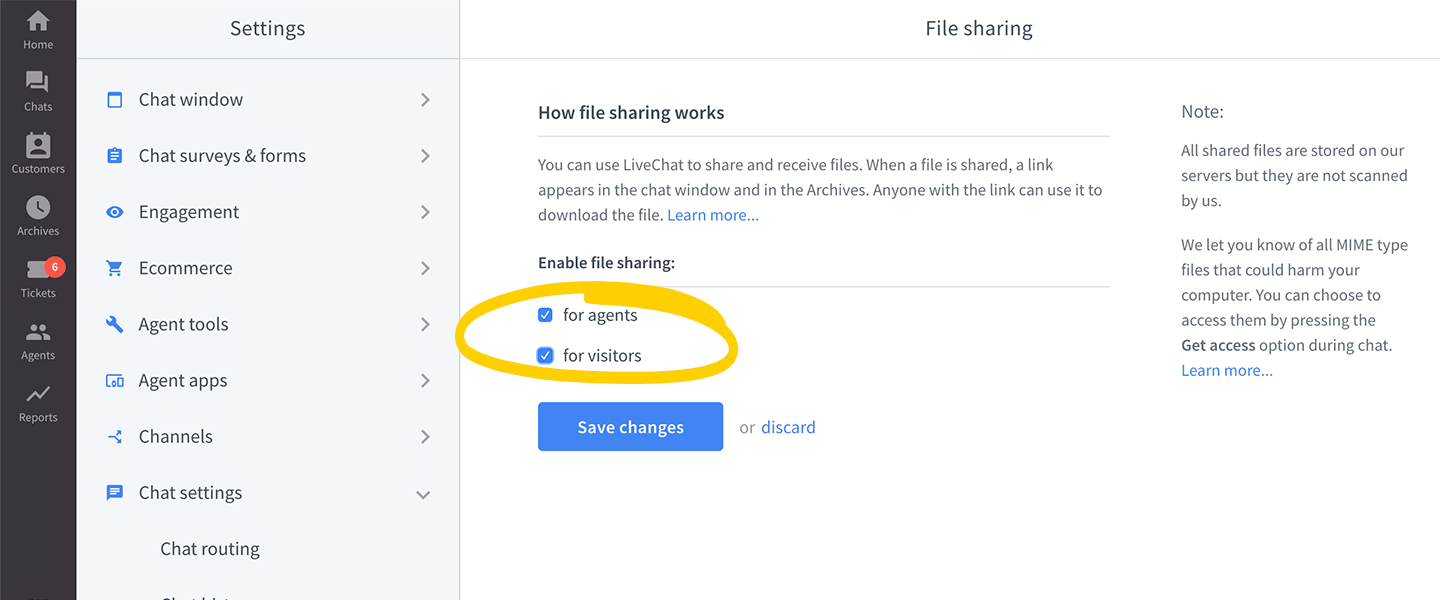
Turn on/off file sharing
You can disable file sharing for agents and/or customers. To do that, follow these steps:
- Go to Settings > Chat settings > File sharing.
- Check the box to turn on or uncheck it to turn off the file sharing. There are separate options for customers and agents.
- Click on the Save changes button to finalize.
File sharing security
Any file that can be a potential threat will be automatically filtered out by LiveChat. You can then decide whether you want to have access to it or not by choosing Get access or Discard.
Once you choose that a file shouldn’t be accessed, you (and other agents) won’t be able to click on the file link and download it. The same goes for the link to the file in Archives.
This ensures that agents don’t accidentally open files that may harm their computers or do some other kind of security-related damage.
You can undo this action by clicking on the Get access button.